Most of the stuff we do at my work is very stylized, which takes quite a bit of adjustment since I’m a realism nut. The only hard thing about the work I do there is getting simple things to look good. With my personal work it’s easy, just add detail and people love it! But learning to make simple things appealing is a very valuable skill, whether you like realism or not.
Lately I’ve been modeling lots of rocks and some terrain and I thought I’d share my workflow a bit.
Modeling a realistic rock is easy. Just subdivide the crap out of it and add a displacement modifier.
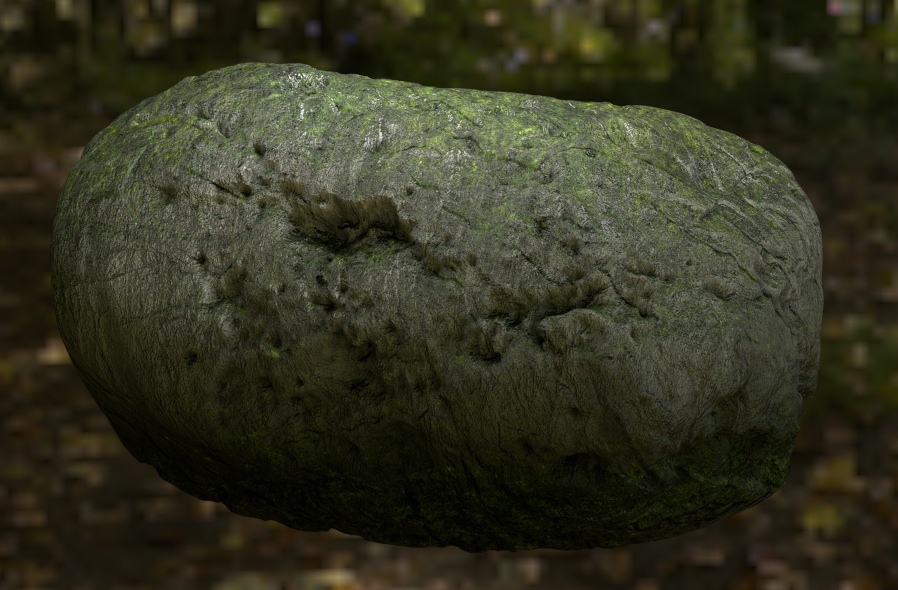 But stylizing them doesn’t really come natural to me.
So after half a day or so of playing, I came up with a pretty procedural solution.
- Start out with an Icosphere so that we have uniform triangles.
- Add a displacement modifier that uses global coordinates and RGB to XYZ displacement. This is so that we can just duplicate the object and get as many randomly shaped rocks as we like just by moving them around. Remember to choose “Color” mode in the cloud texture.
- Add another displacement (this time just along the normals and local coordinates are fine) just to give some rough detail to the mesh. I also added a subsurf modifier at the top of the stack to get some more detail.
- Add a Decimate modifier and reduce the collapse Ratio until you’ve killed all the topology. The more random the triangles appear, the better.
- Now add another Decimate modifier, this time switch it to Planar mode and increase the angle to about 25 degrees. This is where that screwed up topology from the previous modifier is handy – a lack of any pattern or quads makes this Planar decimation produce some nice geometric shapes. Also check “All Boundaries” to make even better geometric shapes.
- Finally add an Edge Split modifier (or a bevel if it’s for a close-up) and it’s done!
Remember that since we used global coordinates for the first displacement to get the main shape of the rock, we just need to move it (or use an array modifier) to get a differently shaped rock!

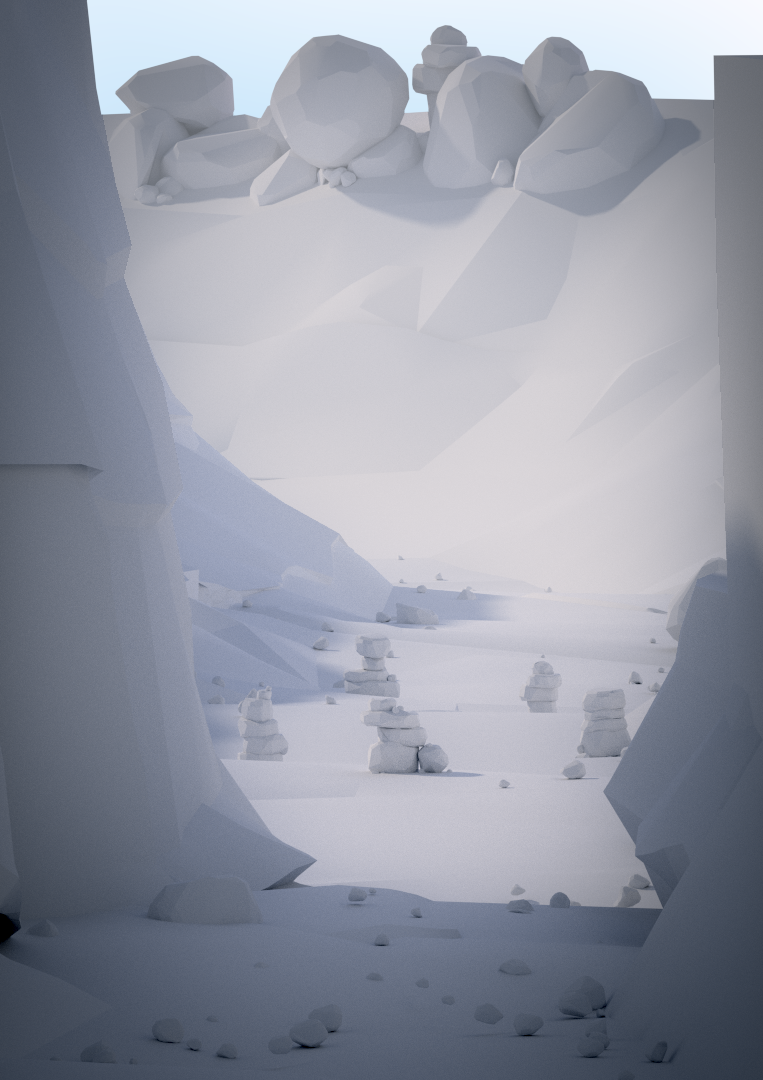
Rocks are easy though, cliffs and other sorts of terrain require a bit of manual labour.
However, I’m not a fan of manual labour and still have some procedural tricks up my sleeve!
Cue the knife tool.
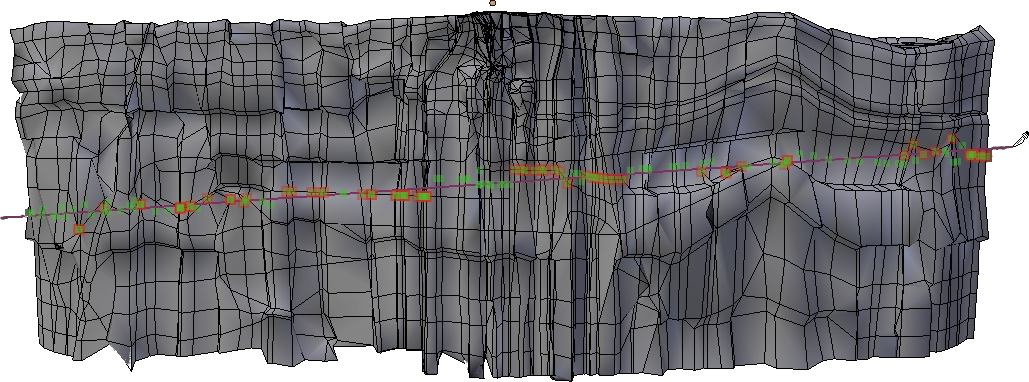
I made some fairly random cuts both vertically and horizontally to create some slate-like bits, and hit ‘Z’ to enable ‘Cut Through’ mode of the knife tool. Do this a couple times and you’ll end up with some pretty scary topology. Which is a good thing. Then I hacked at it with Proportional Edit mode in linear falloff to skew some of the shelves.
Now just add the same modifiers as with the rocks (though go easy on the big displacement) and you get a nice stylized cliff face.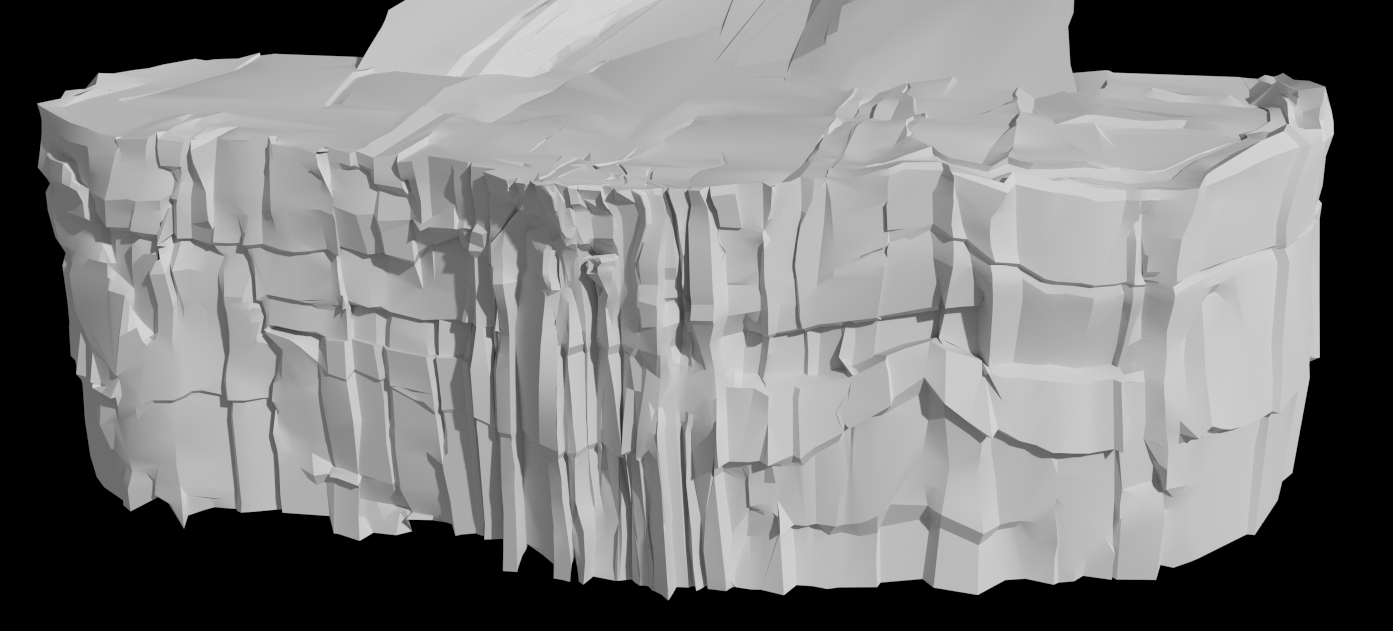
Love this Greg! Thanks. Hopefully I can make a stylized short film soon. Maybe do something like that on the next meetup. ;)
Love the trick with the global coordinates – haven’t thought of that one!!
Wow that is awesome, will definitely be trying this
Im stealing this workflow. Thank boet.
thanks for sharing Greg, this is really useful
you dont say which software you are using for this
Hi, this stuff is great and I have some really good results with the rocks. But would someone be willing to give a more detailed explanation of the cliff section for someone who is just starting to use Blender (me). I would be really grateful, REALLY!!
Great tips, thank you. I’m busy building stylised rock formations for an RTS game and this helps.
EDIT: I see you are also in SA! Good to see local work of a high standard. Check out what we are doing here: http://makegamessa.com/discussion/4248/portfolio-jack-shiels-s-game-development-and-environment-art-portfolio-warning-images#latest
You say IcoSphere which is formed by subdividing the triangles of a regular icosahedron into smaller triangles, but I think in the gif you are using a spherified cube, which you get by using a subsurf modifier on a cube. I just googled it myself, because the Blender IcoSphere looked different.
Nevermind, the gif actually shows tris. My fault.
What program are you using for it?
This honest to god might be the worst tutorial I’ve ever seen. This tutorial is so pathetically put together and poorly explained that I genuinely think you harmed people more by wasting their time with this piece of shit than you have benefitted them. Please never make tutorials ever again.
Thanks!
People who put free stuff on the internet are the heros of our society, don’t listen to this lazy guy who was hoping to get a free magical all in one solution
Hello to anyone who might be viewing this today. To answer questions anyone might have I think I have these answer. The software he is using is blender, or at least I believe since I was able to follow this perfectly with blender. To anyone who might be getting loss or maybe not having the same look as he made, you may need to reorder modifiers in the modifiers stack menu. Best of luck to everyone, thank you Greg for this tutorial.